Connecting to Webflow
Machined has a native Webflow integration that lets you publish content directly to your CMS Collections.
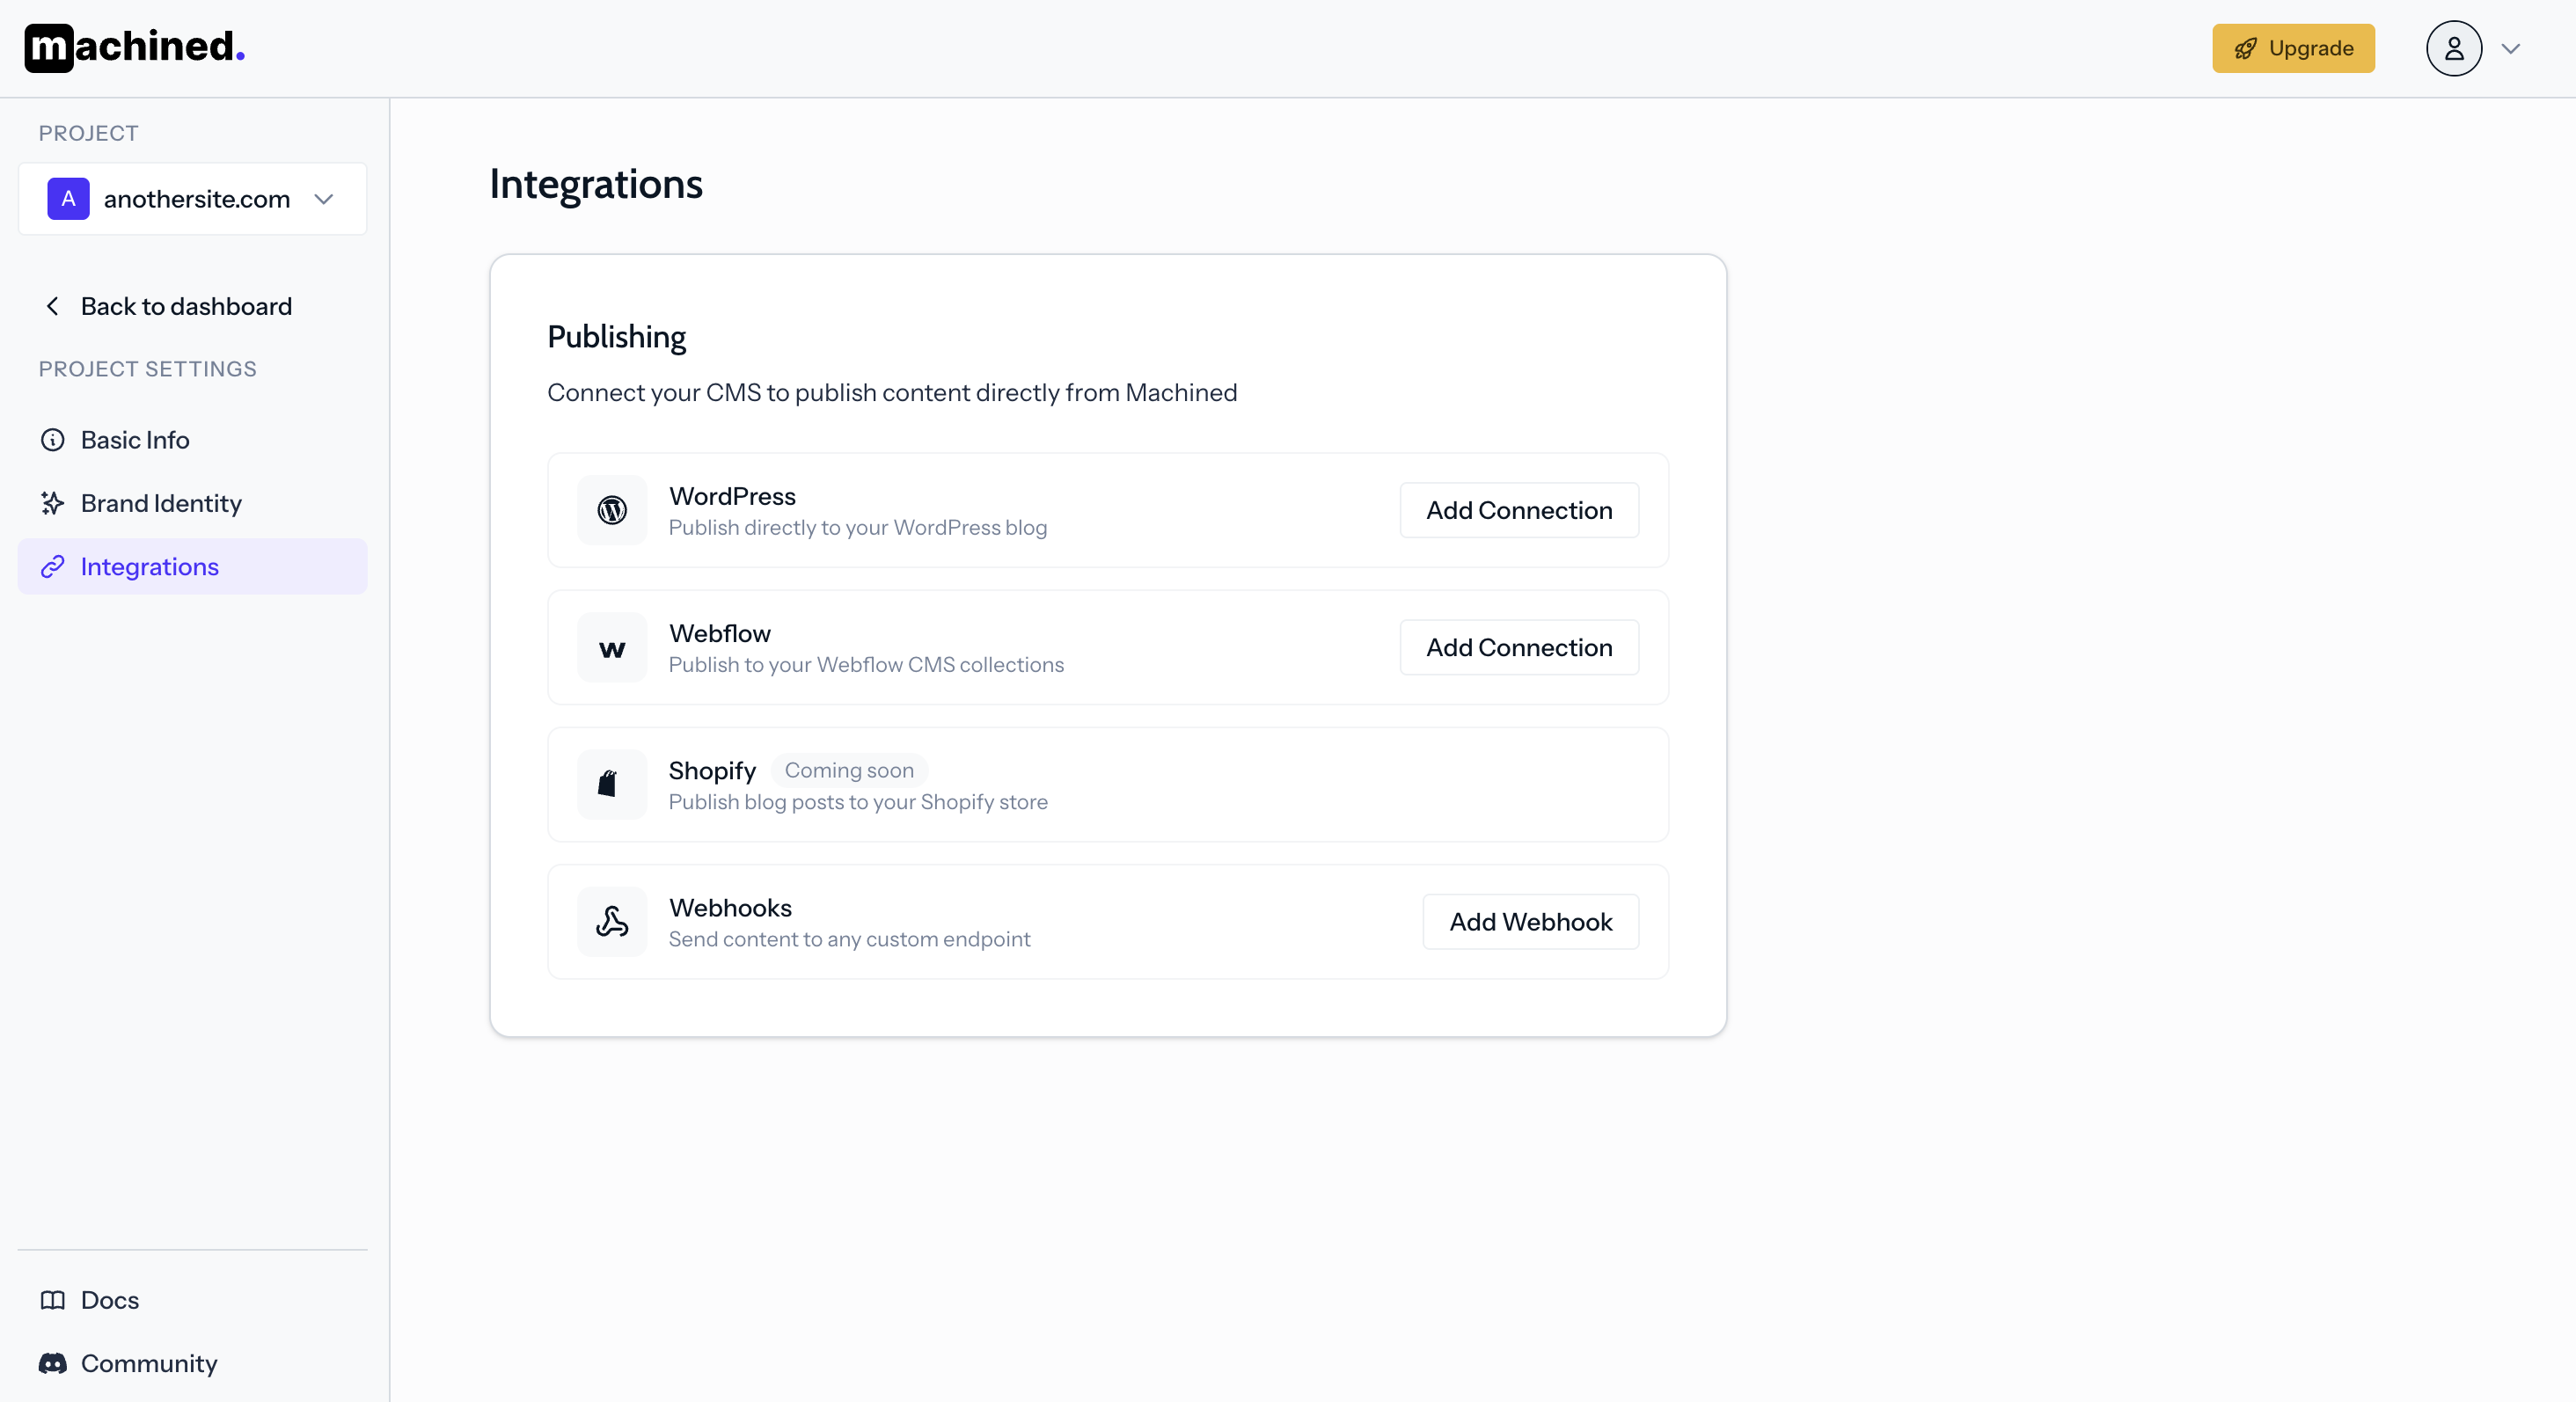
Connections are configured at the project level — go to Project Settings → Integrations and click Add Connection next to Webflow.
Step 1: Get your Webflow API token
- Log into your Webflow dashboard
- Click the Settings icon for the site you want to connect
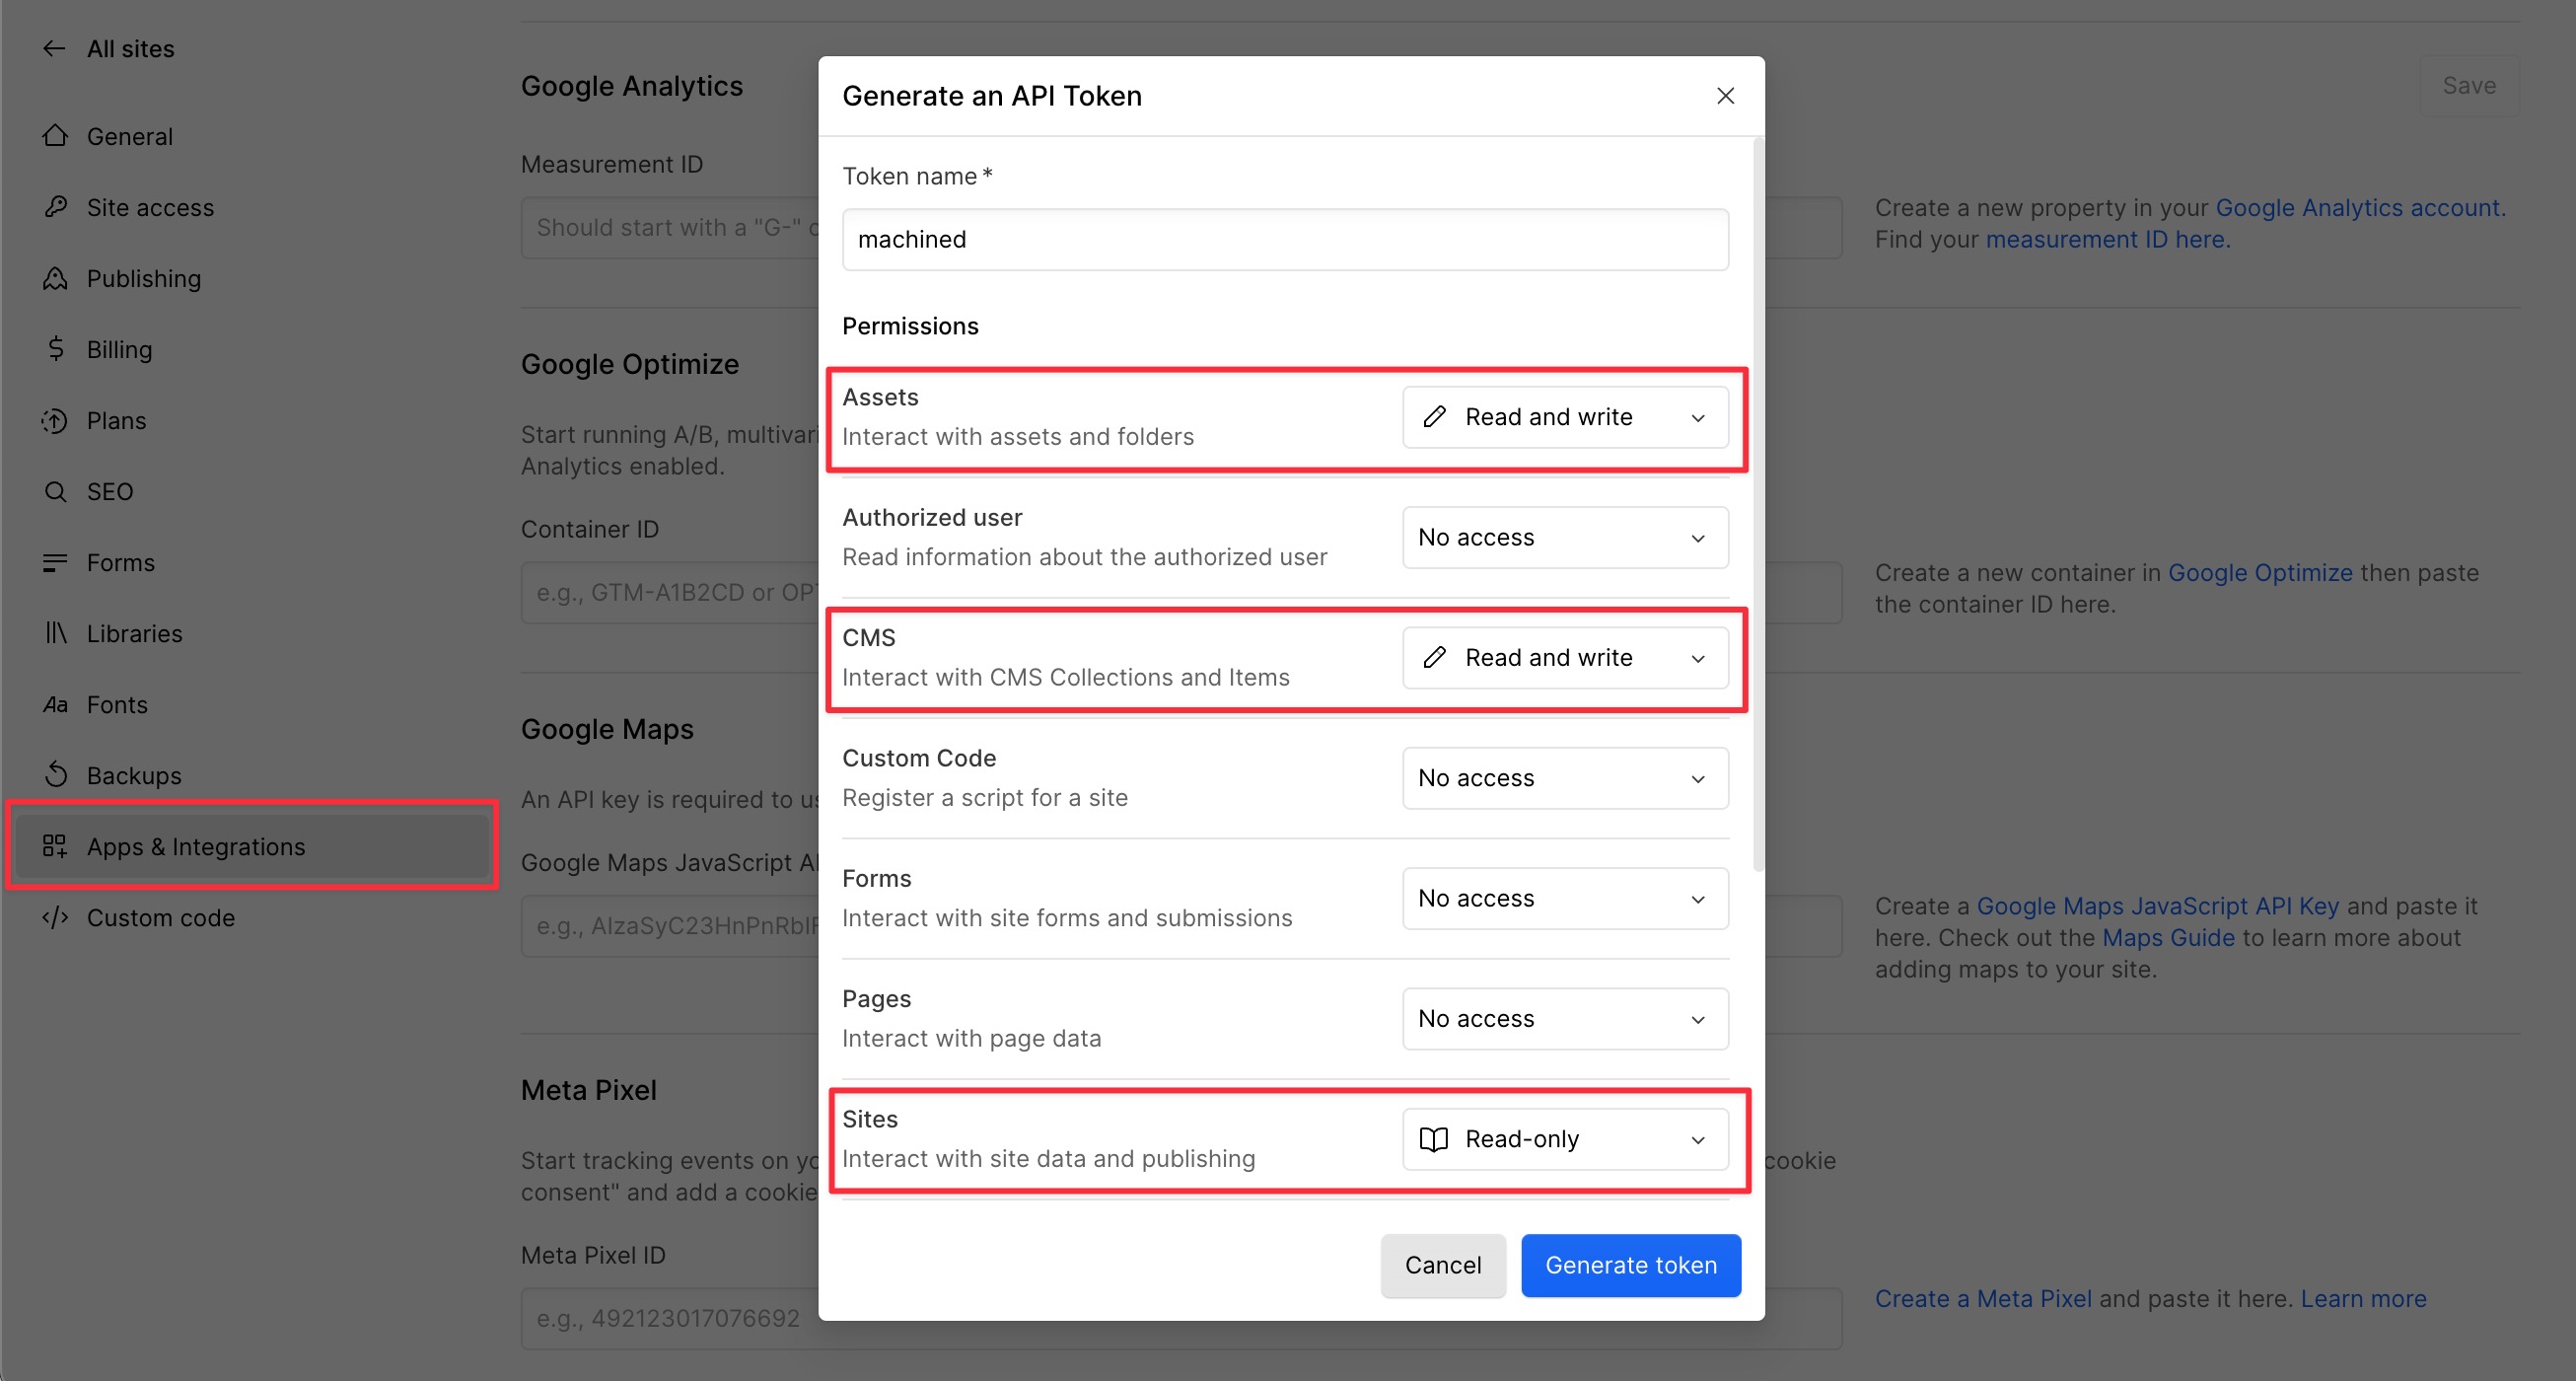
- Go to Apps and Integrations → API Access
- Click Generate API token
- Give it a name like "machined" and set these permissions:
- Sites — Read only
- CMS — Read and Write
- Assets — Read and Write
- Copy the token
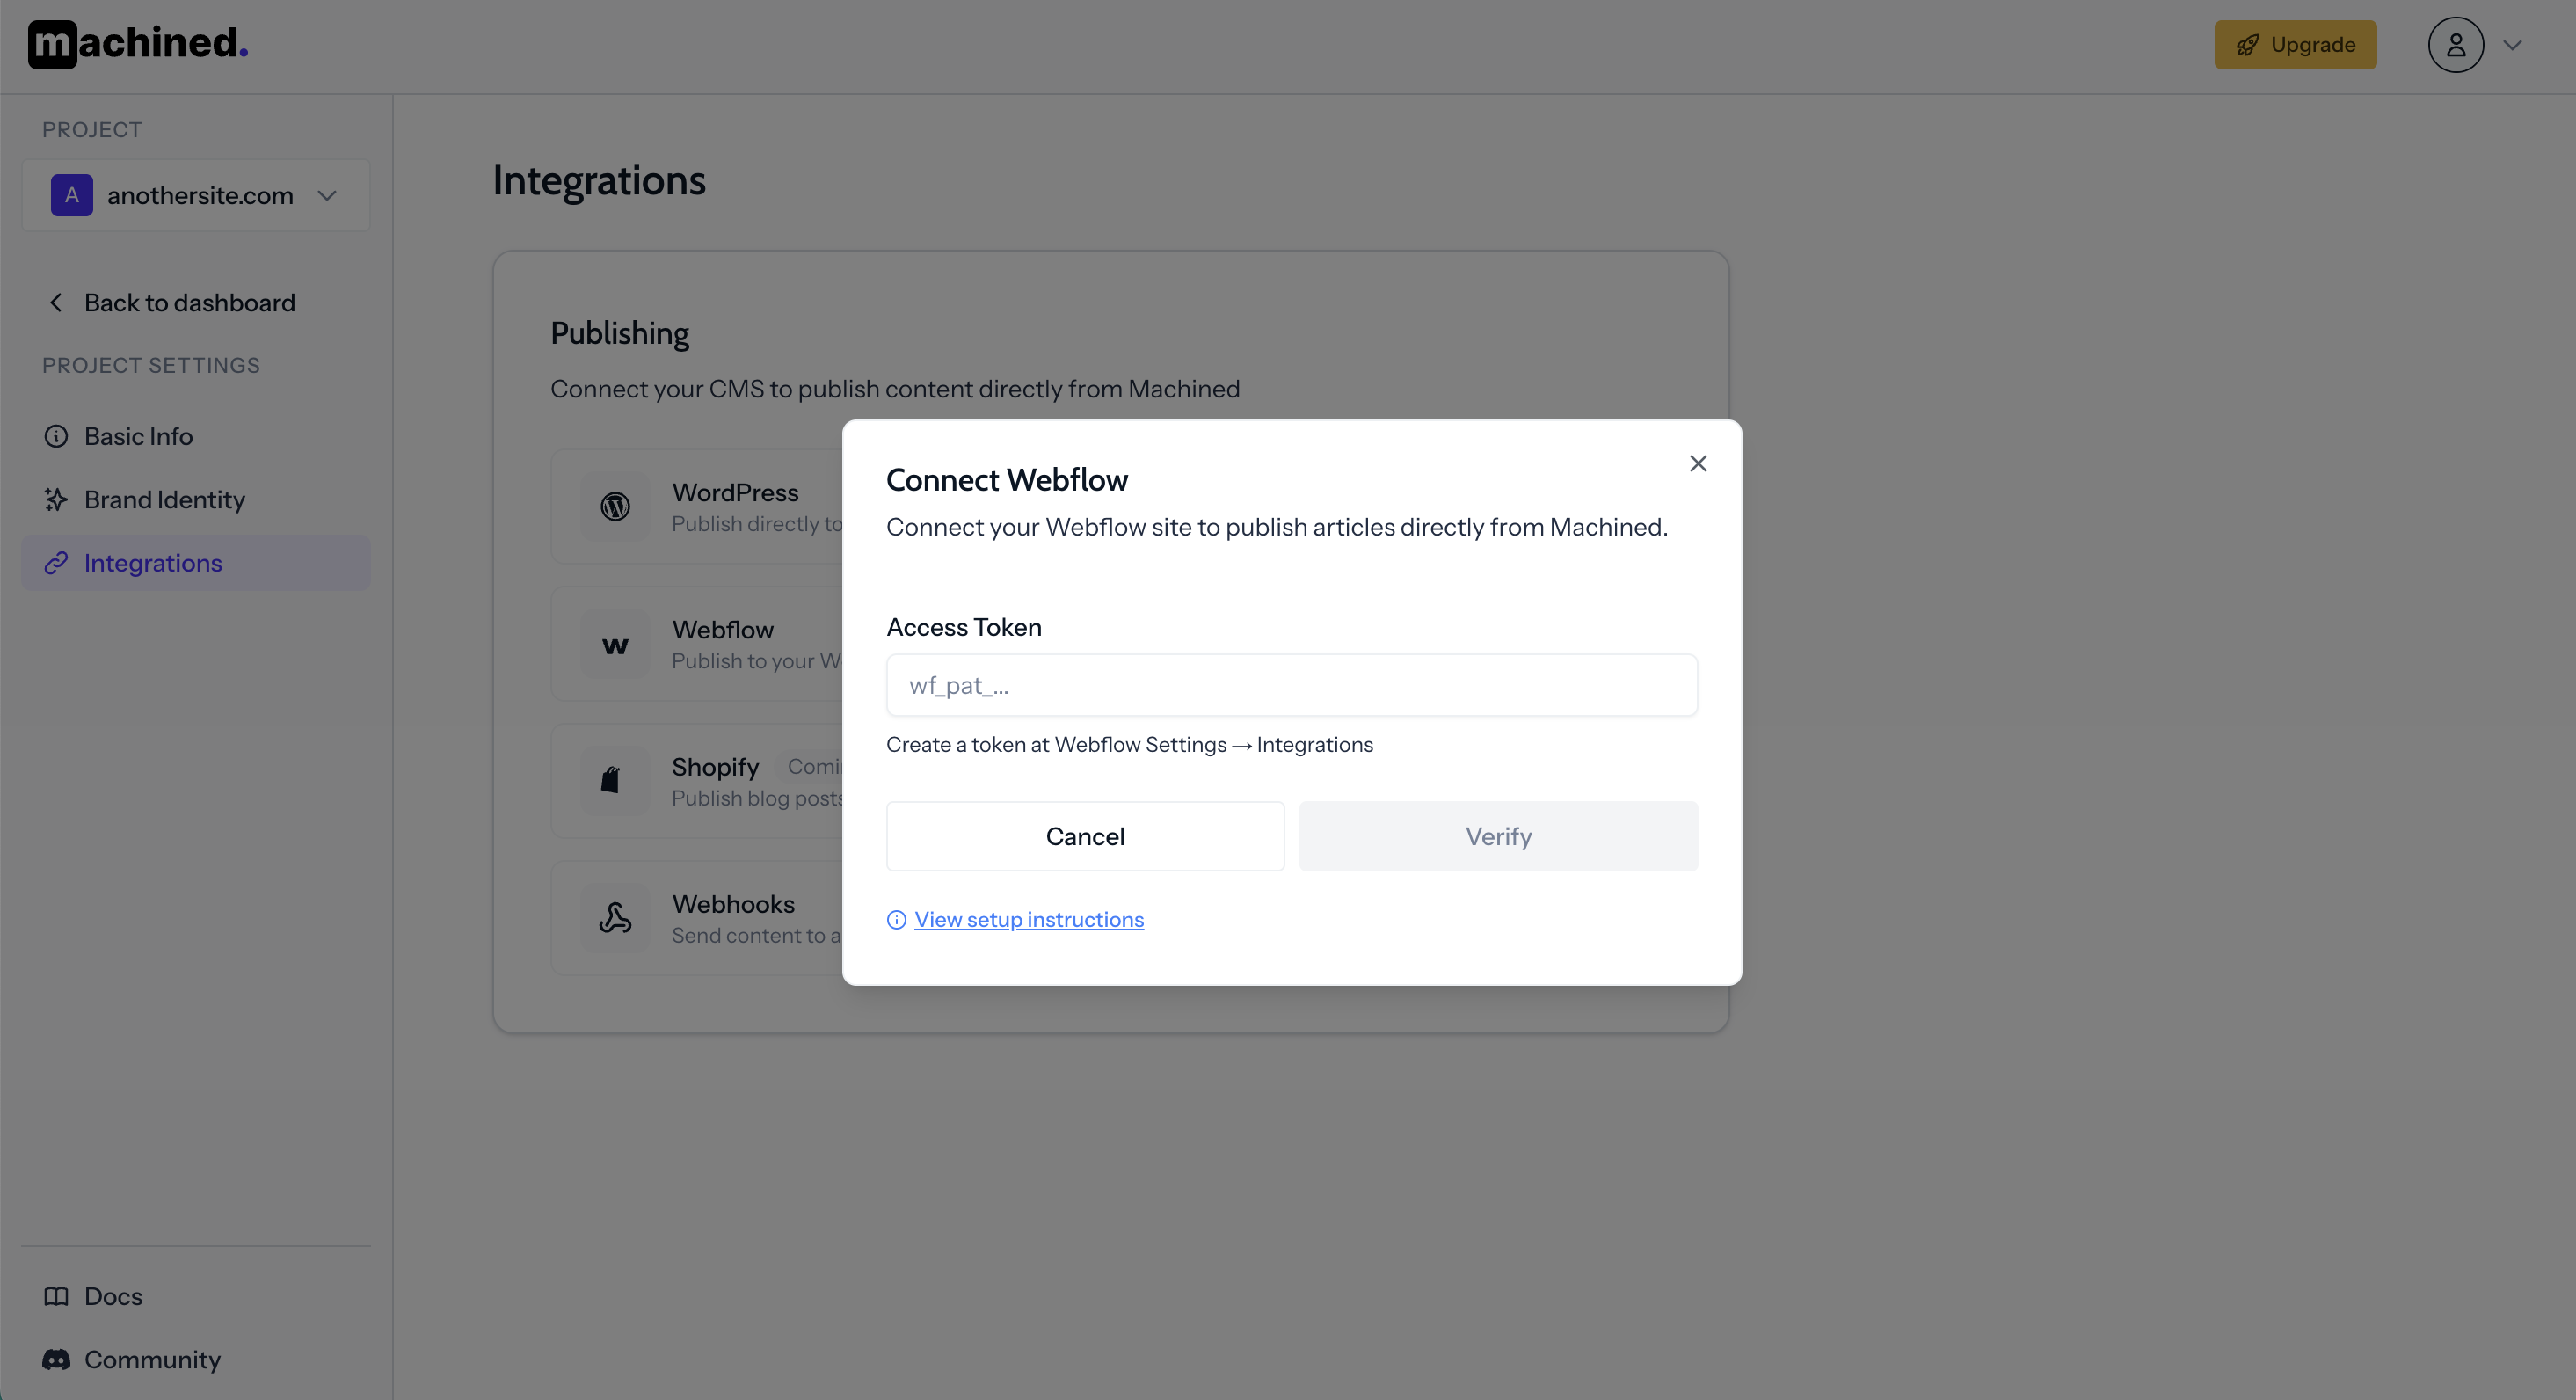
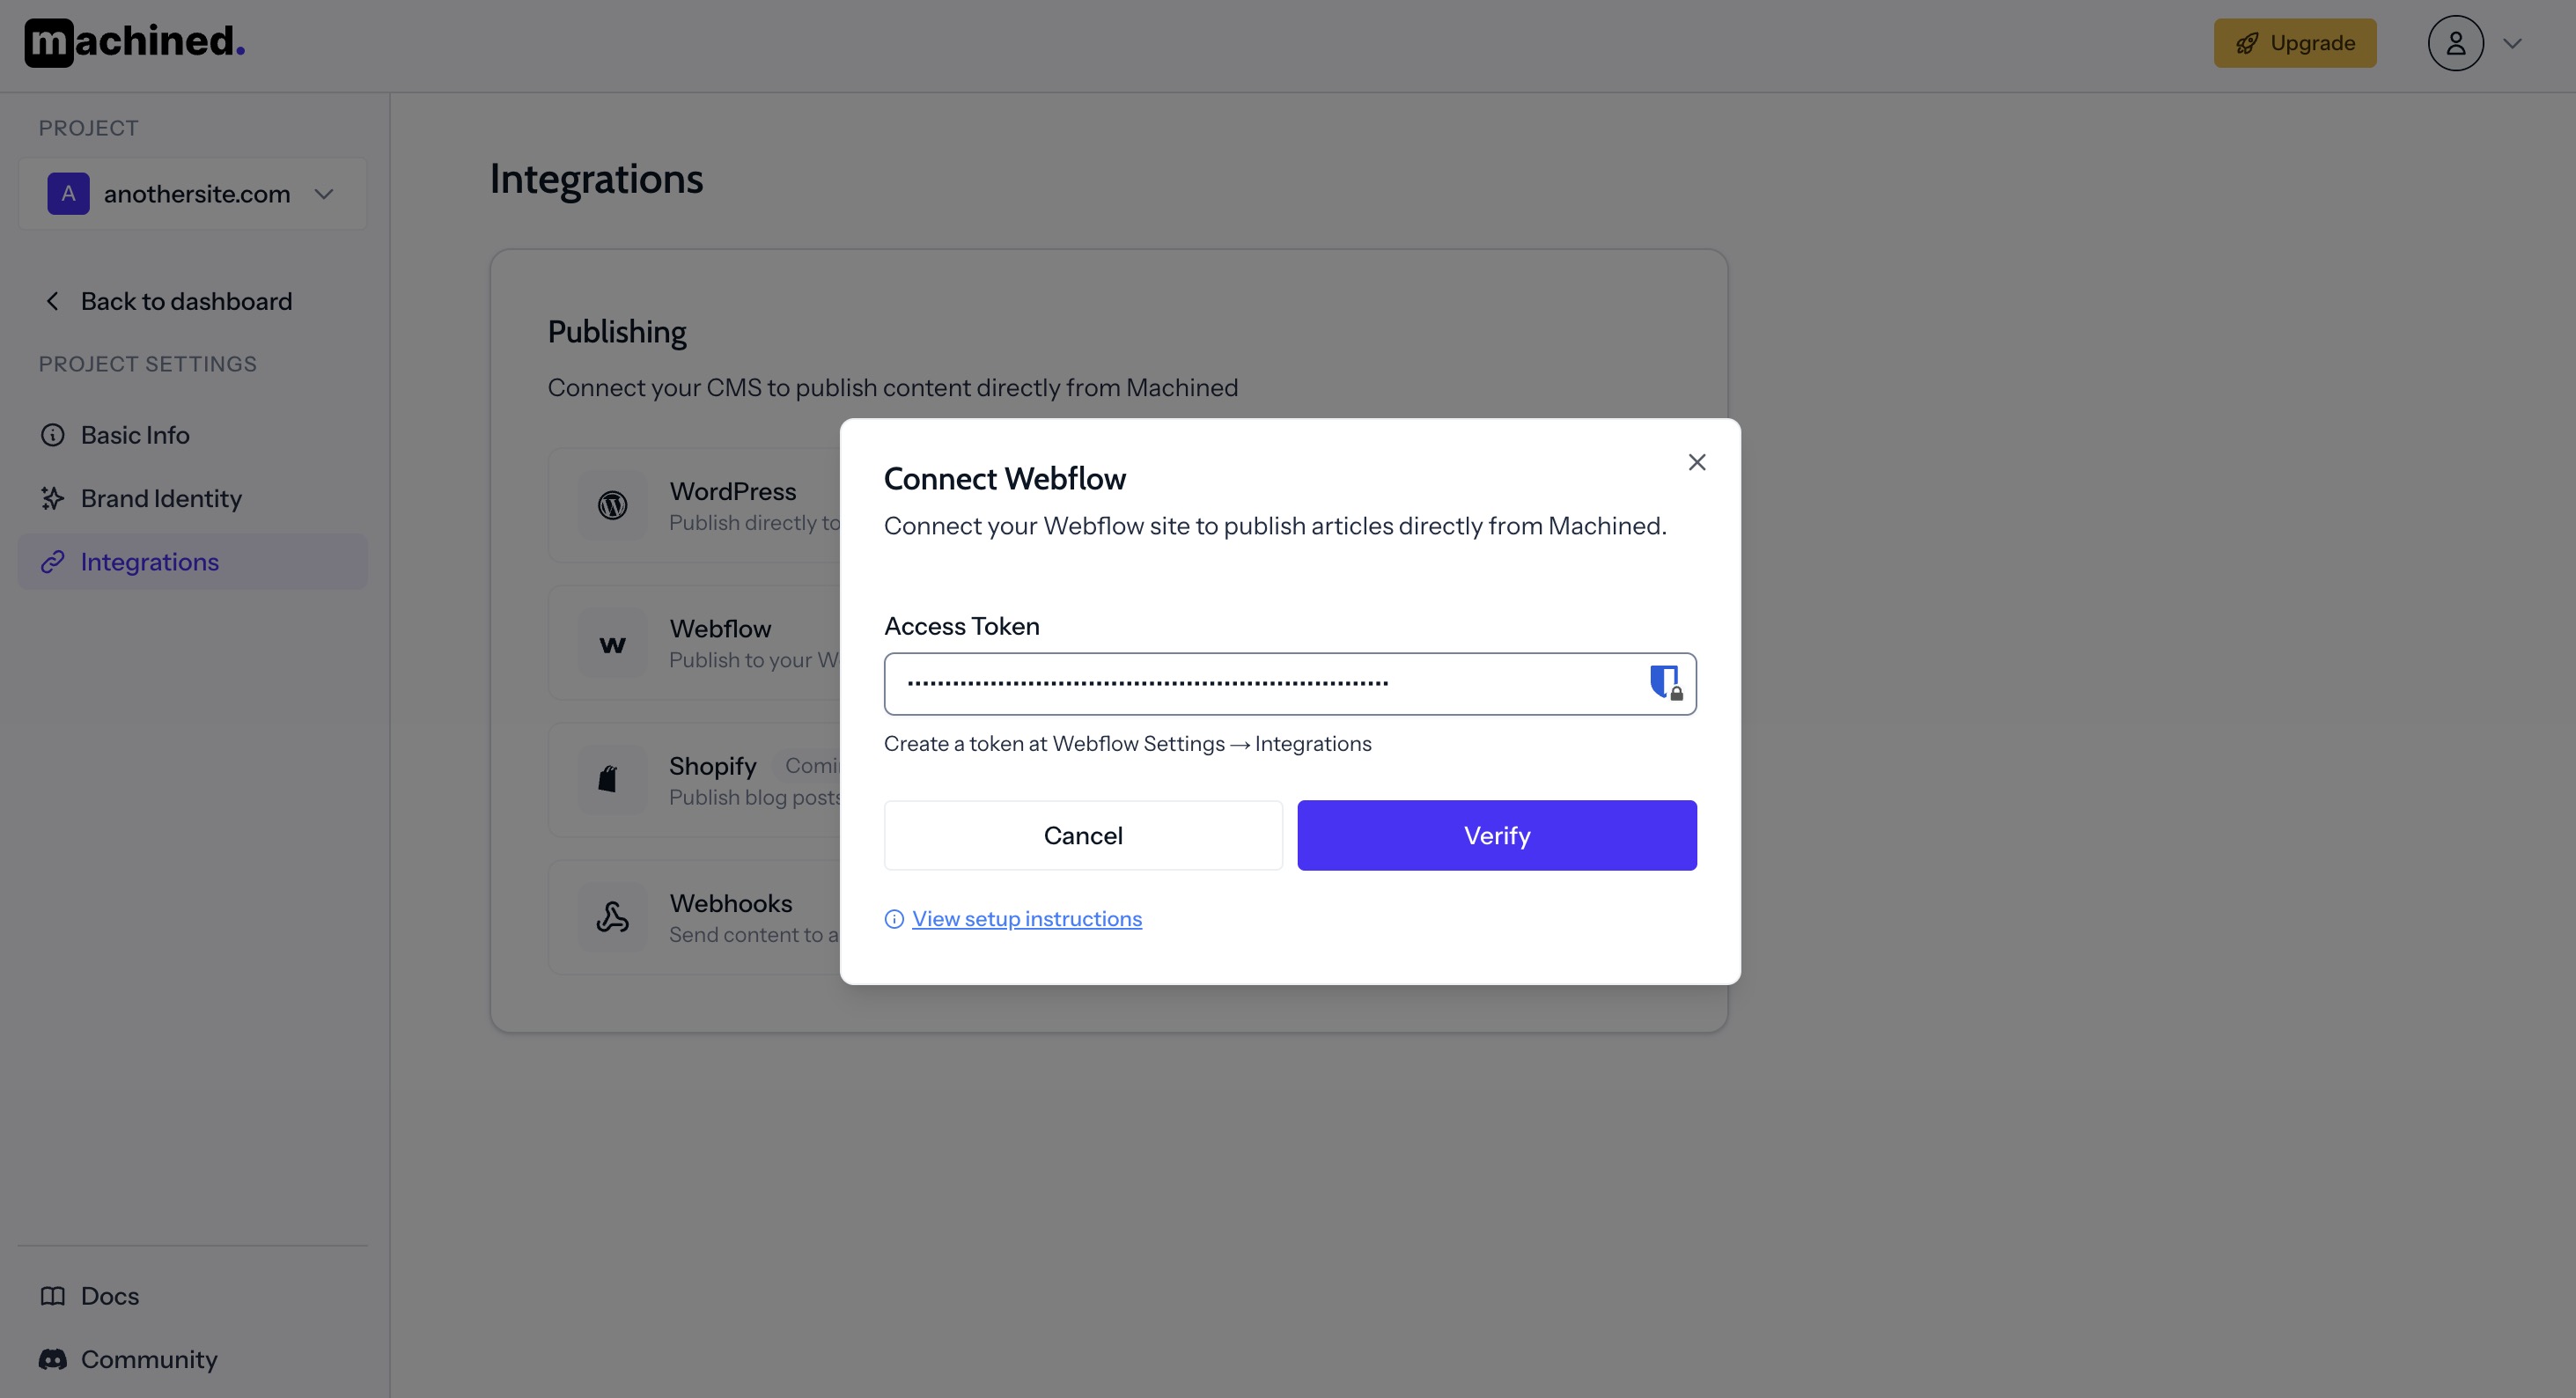
Step 2: Enter your access token
Paste the token into the Access Token field and click Verify.
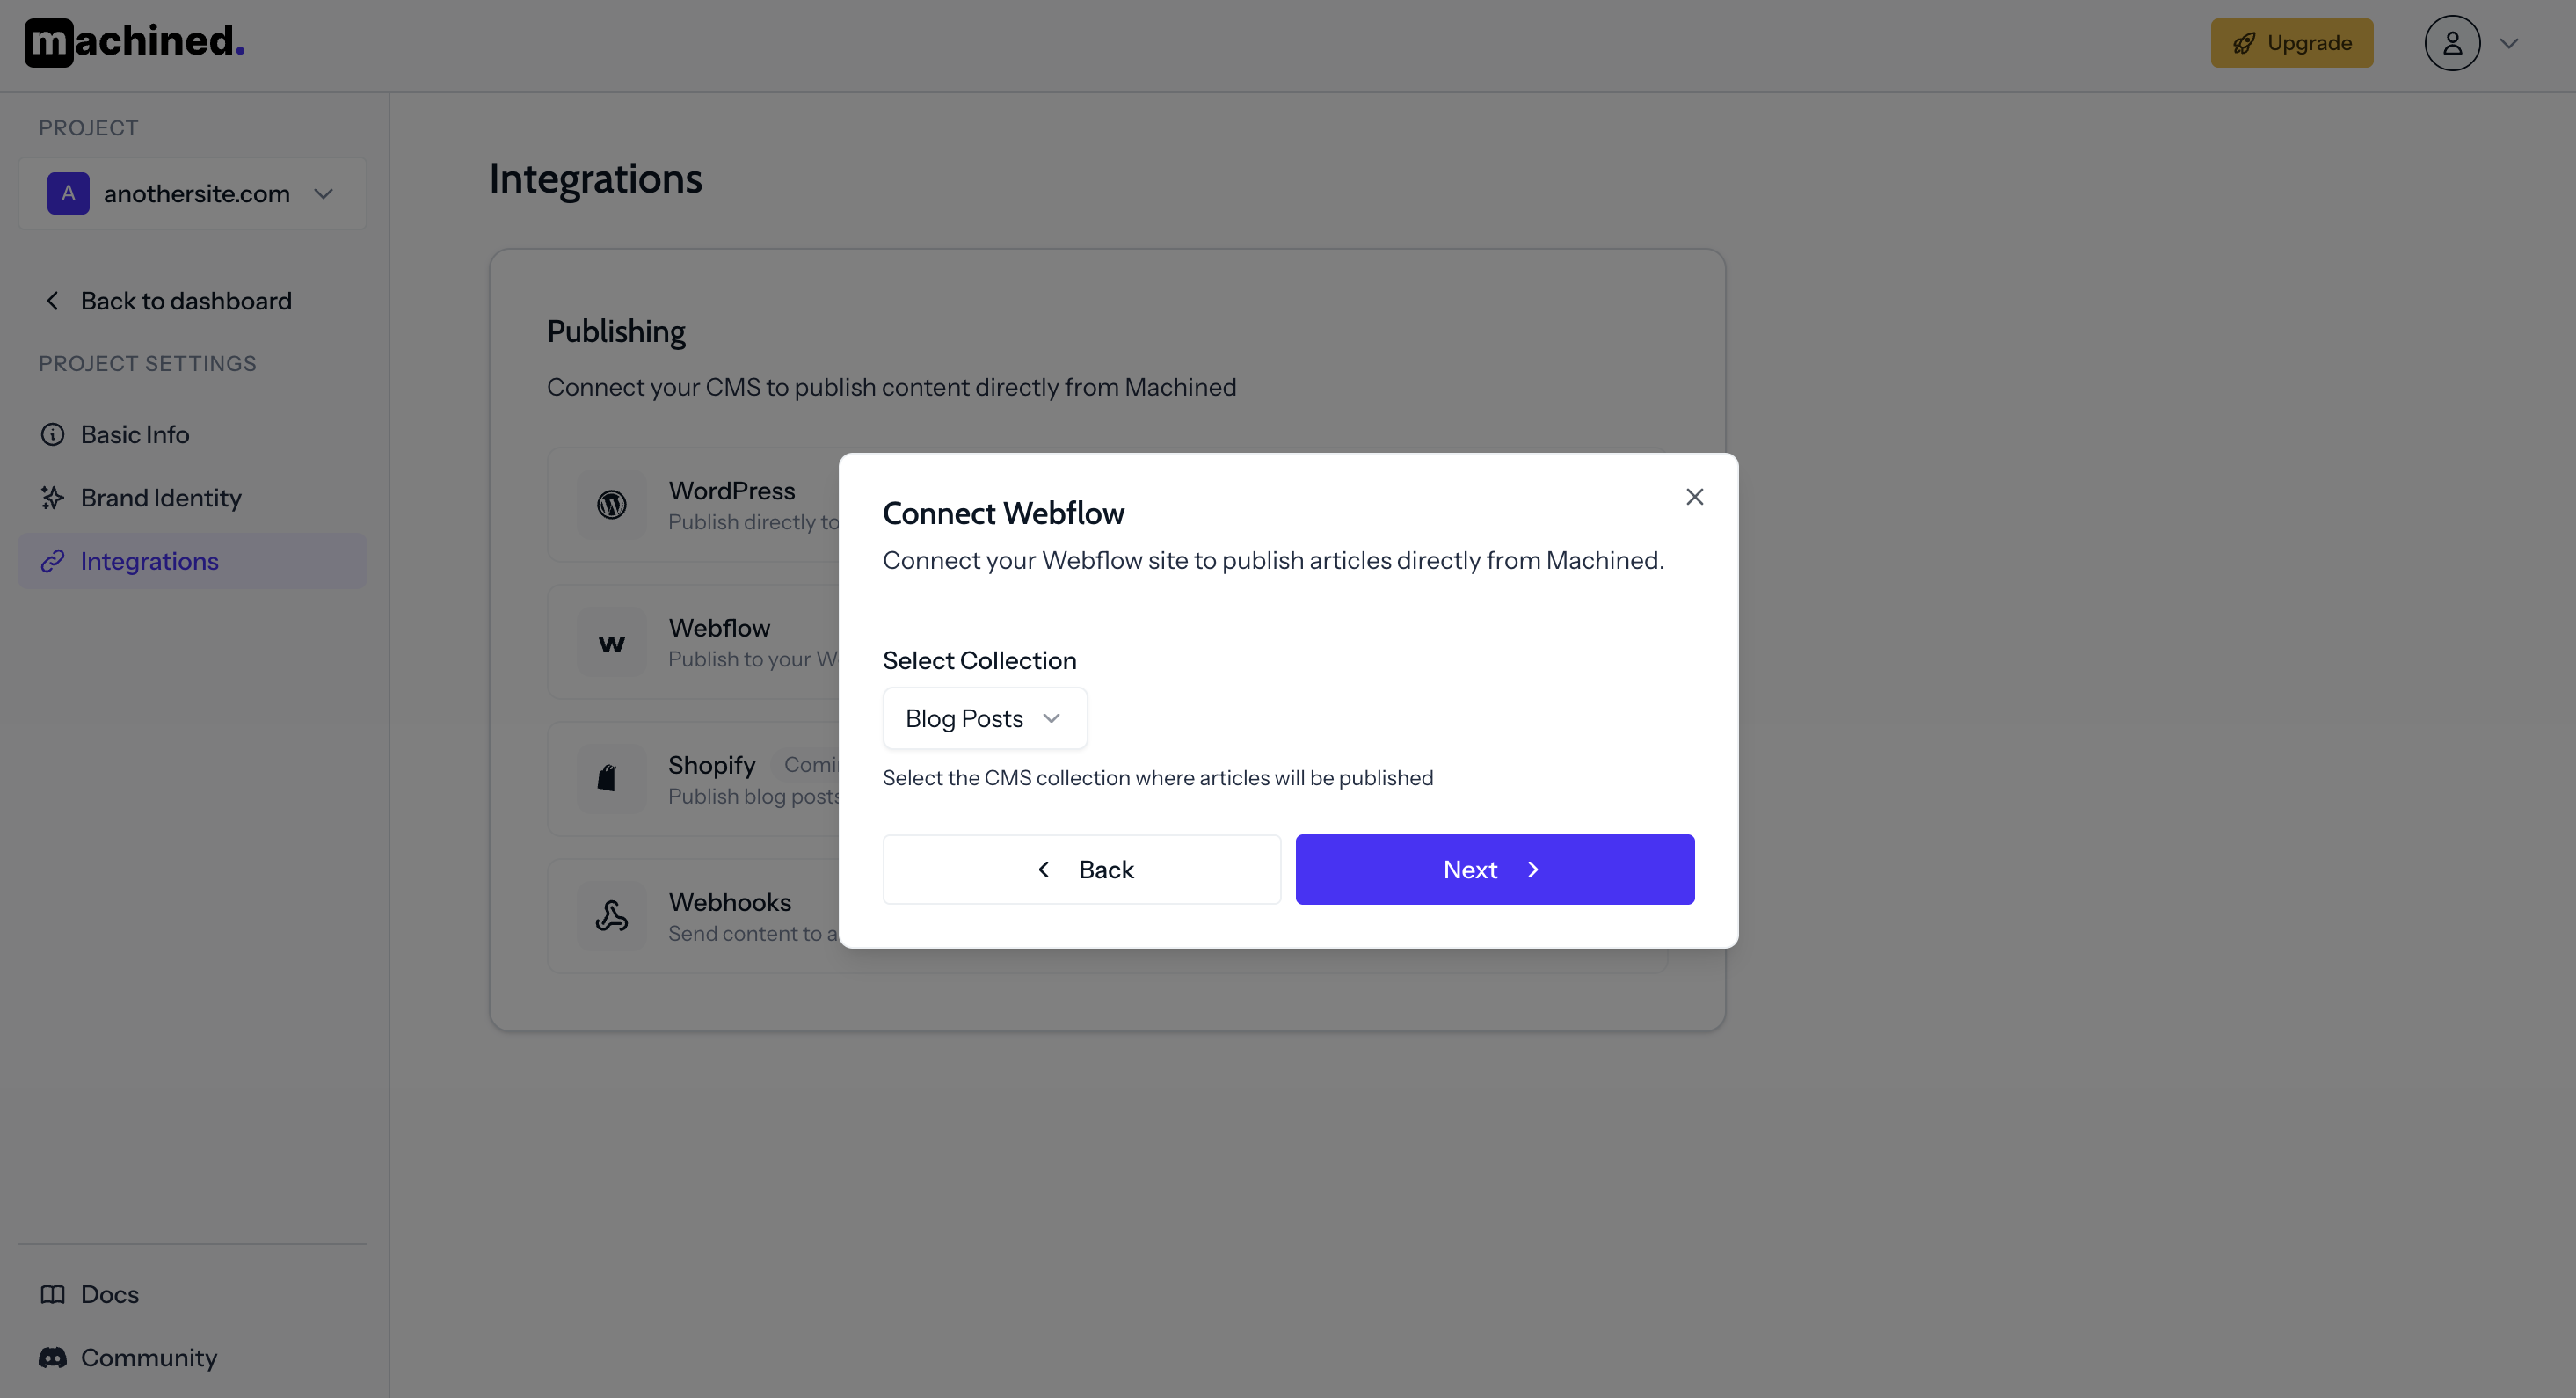
Step 3: Select your collection
Choose the CMS collection you want to publish to. Create one connection per collection — if you have multiple collections on the same site, add a separate connection for each.
Step 4: Map your fields
Map the Machined fields to the corresponding fields in your Webflow collection.
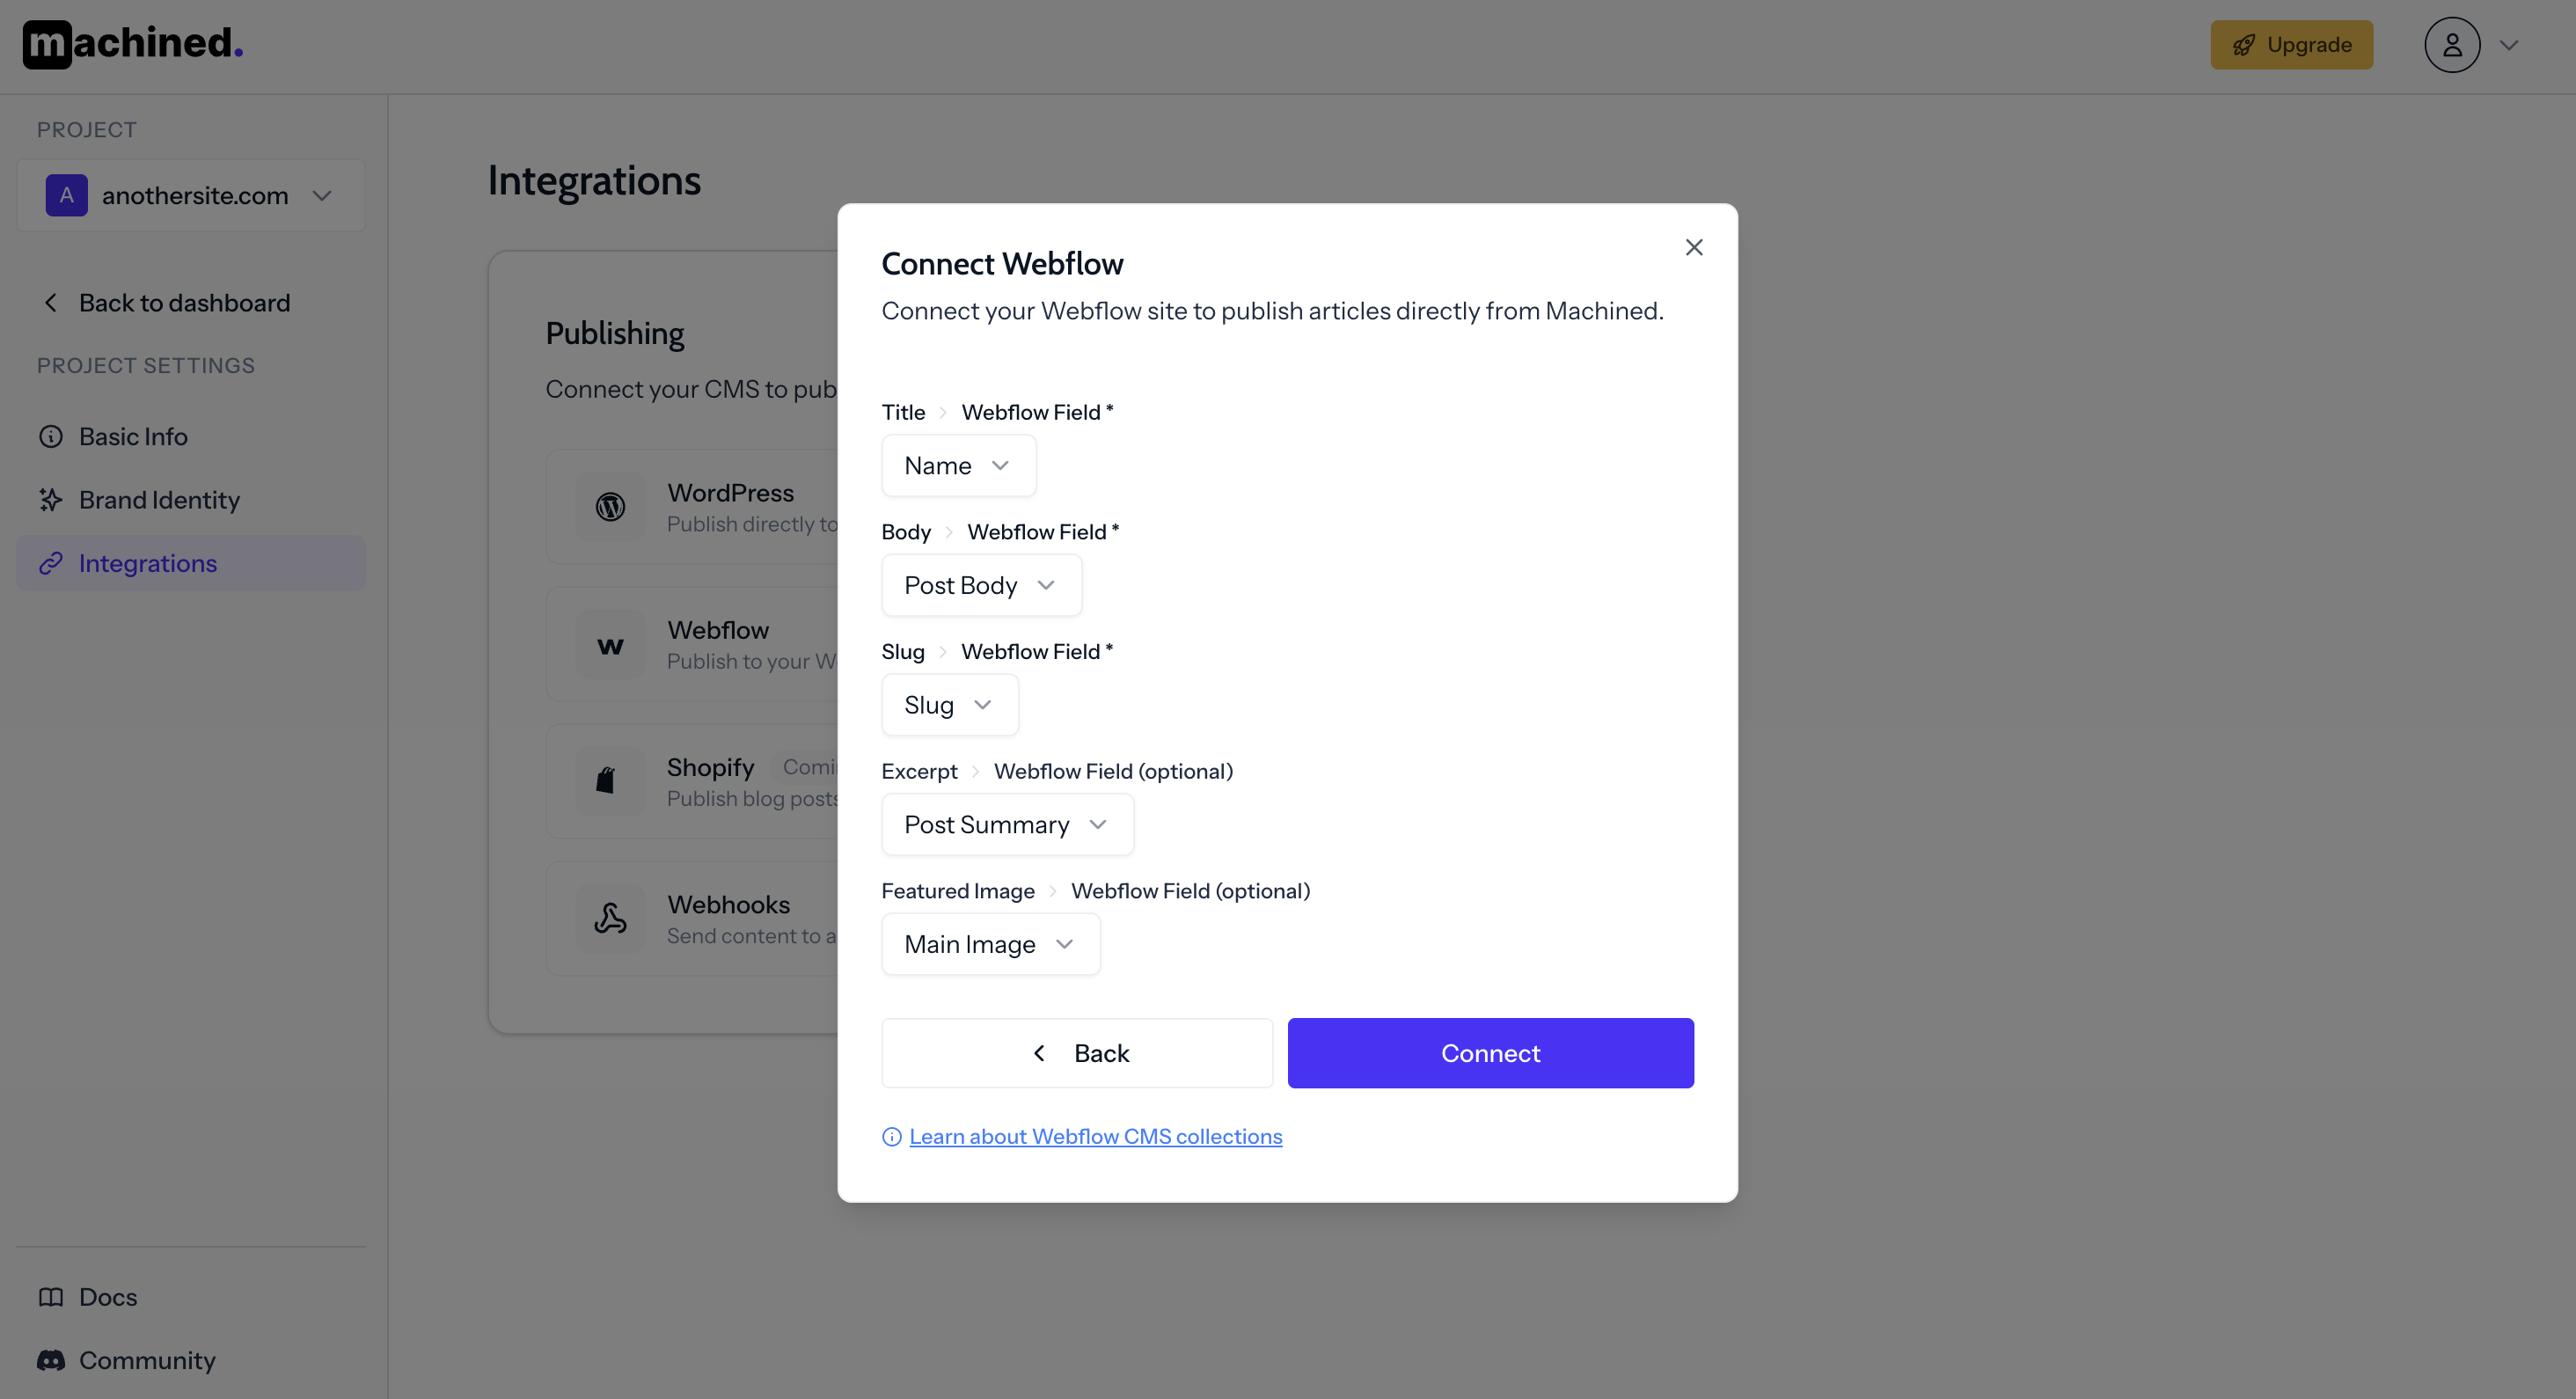
- Title — your article title field (usually
Name) - Body — your main content field (must be a Rich Text field)
- Slug — your slug field (usually
Slug) - Excerpt — an excerpt or meta description field (optional)
- Featured Image — your cover image field (must be an Image field)
Click Connect to save.
Notes
- If you have trouble connecting, reach out via the in-app chat.
- Tables and lists may not display correctly in the Webflow Designer or Editor due to a known Webflow issue with Rich Text elements — they will display correctly on your live site.