Publishing via Webhooks
Webhooks let you send articles to any external endpoint when they are written or triggered manually. Combined with automation platforms like Zapier, Make.com, or n8n, you can publish to any CMS or trigger any workflow — without writing code.
Setting up a webhook
Go to Project Settings → Integrations and click Add Webhook.
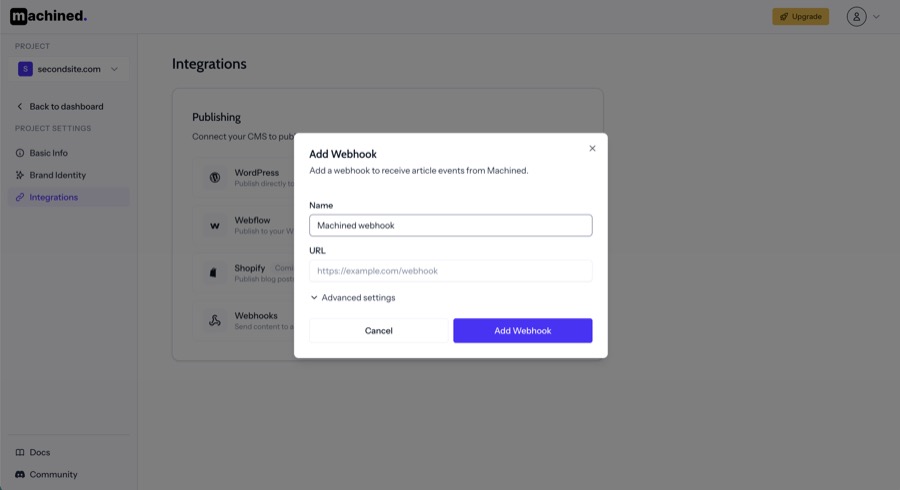
Enter a Name and the URL of your webhook endpoint. The URL is provided by your automation platform — create a webhook trigger in Zapier, Make.com, or n8n and paste the URL here.
Advanced settings
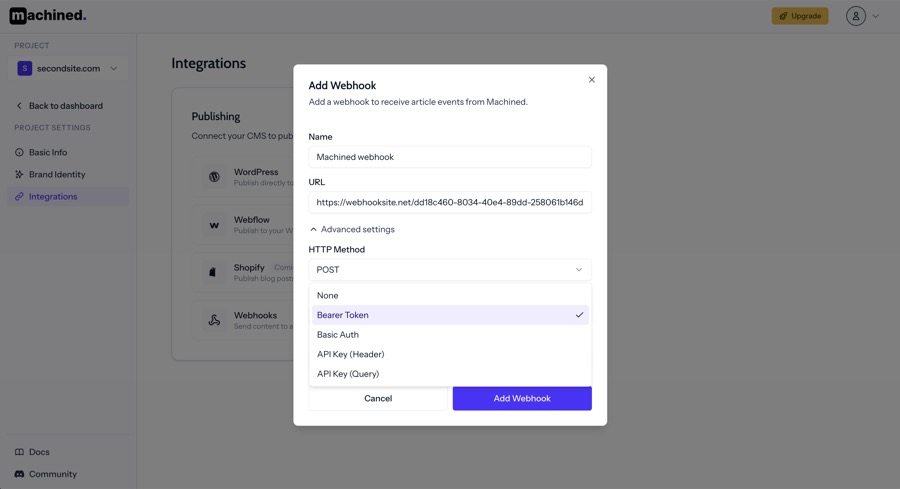
Expand Advanced Settings to configure the HTTP method and authentication.
HTTP Method — POST, PUT, or PATCH. Most platforms use POST.
Authentication — secures the request so only Machined can call your endpoint:
- None — no authentication
- Bearer Token — adds an
Authorization: Bearer <token>header - Basic Auth — username and password
- API Key (Header) — sends a key in a custom request header
- API Key (Query) — appends a key as a query parameter
Signing secret
When you create a webhook, Machined generates a signing secret. Copy it immediately — it won't be shown again.
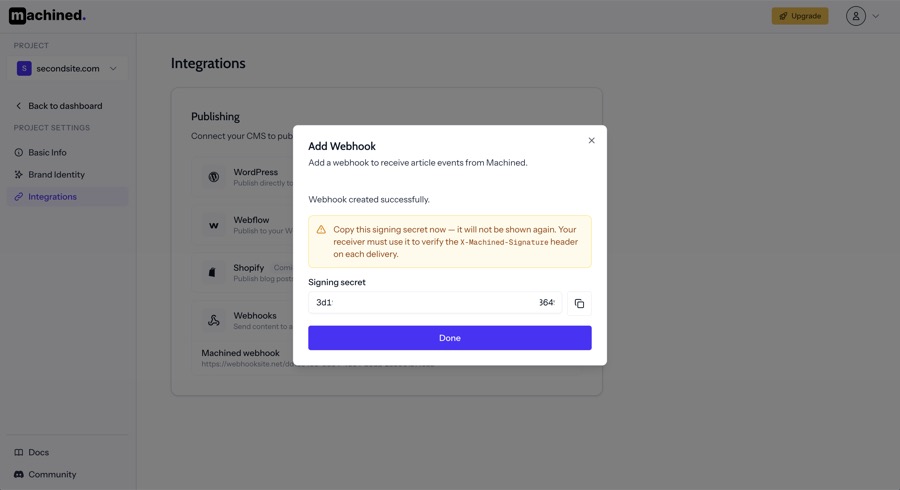
The signing secret is included as an X-Machined-Signature header on every request. Use it on your receiving end to verify that the request genuinely came from Machined.
Managing webhooks
Your webhooks are listed in the Integrations page.
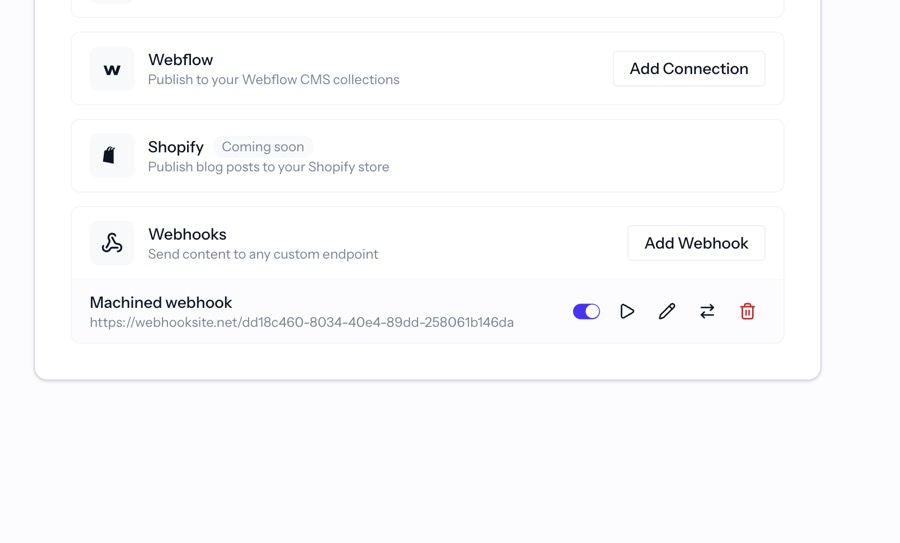
Each webhook has the following actions:
- Toggle — enable or disable the webhook. Disabled webhooks won't be triggered.
- Test — sends a test payload to the endpoint so you can verify it's working. The response status is shown next to the webhook name after testing.
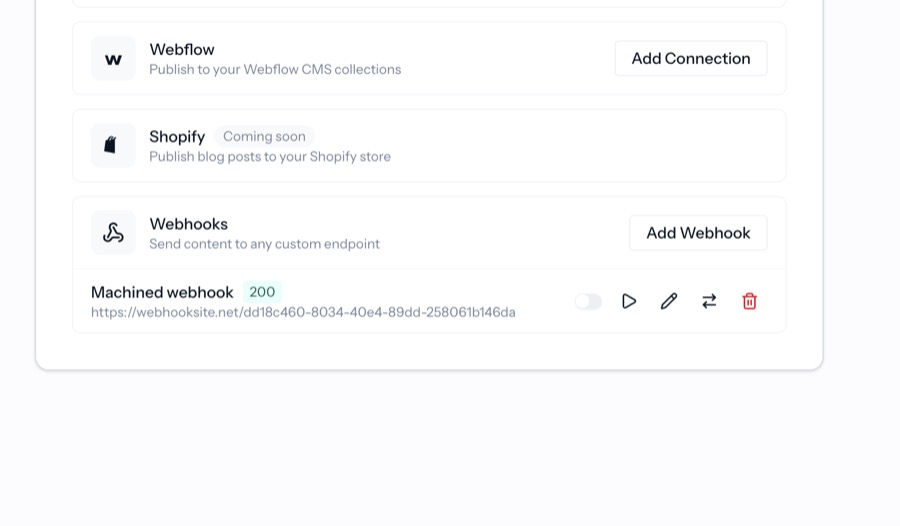
- Edit — update the name, URL, HTTP method, or authentication settings.
- Move — move the webhook to a different project.
- Delete — permanently remove the webhook.
Triggering webhooks
Open the actions menu on any written article and select the webhook you want to trigger. You can also trigger webhooks in bulk by selecting multiple articles.
Webhook payload
The following fields are sent with each webhook request:
{
  "cluster_id": "1234567890123x1234567890123",
  "cluster_topic": "how to grow tomatoes",
  "cluster_audience": "home gardeners",
  "article_id": "1234567890987x1234567890987",
  "article_slug": "best-tomato-varieties",
  "article_title": "The Best Tomato Varieties for Home Gardeners",
  "article_description": "A guide to choosing the right tomato varieties for your garden.",
  "article_keyword": "best-tomato-varieties",
  "article_content_markdown": "# Introduction \n ...",
  "article_content_html": "<html><h2>Introduction</h2><p>...</p></html>",
  "article_featured_image": "https://images.pexels.com/photos/123/photo.jpeg",
  "article_featured_image_alt_text": "best tomato varieties",
  "article_featured_image_caption": "Photo by photographer from Pexels",
  "article_setting_model": "gpt-4o",
  "article_setting_perspective": "Second Person (you, your, yours)",
  "article_setting_tone_of_voice": "Friendly"
}